ก่อนที่เราจะมา develop ก็จำเป็นต้องมี tool สำหรับการเขียนโปรแกรมกันก่อนนะครับ
สิ่งที่เราจำเป็นต้องมี
1. Eclipse เป็น editor ซึ่งเราใช้เขียน code นั่นเอง
2. Android SDK SDK = Sodfware Development Kit
3. ADT Plugin ADT = Android Development Tool
4. Java SDK
ทำตามนี้นะครับ พอดีตอนแรกพิมเป็น eng ใน notepad++ แล้วขี้เกียจแปลไทย ;P
อาจจะดูยาวไปหน่อย แต่ก็น่าจะง่ายกว่าการหาเองใน http://developer.android.com/sdk/index.html
1. Verify PC/Notebook specification in android developer website http://developer.android.com/index.html
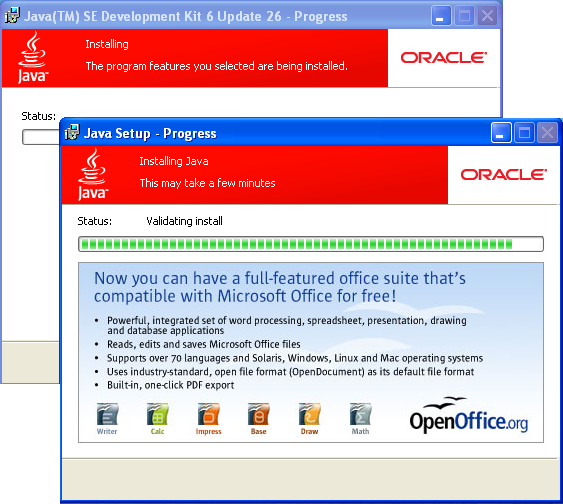
2. Download Java SE (JDK) at http://www.oracle.com/technetwork/java/javase/downloads/jdk-6u26-download-400750.html. For the Windows's user, I suggest to download "Windows x86", jdk-6u26-windows-i586.exe.


5. Install Eclipse
5.1. Extract file to C:\Program Files
5.2. Create short cut of eclipse.exe to "Desktop"
6. Install JDK
6.1. Double click at "jdk-6u26-windows-i586.exe"
6.2. Follow step "Next next and Finish"
7. Install Android SDK ( http://developer.android.com/sdk/installing.html )
7.1. Double click at the instalation file "installer_r11-windows.exe"
7.2. Click "Next next and next then finish" and wait for the long time.
7.3. If the software tell you that JDK is not found, right click at "My Computer" , select "Properties" then select tab "Advanced", click at "Environment Variables". At the "System variables" seclect "Path" and click "Edit". Append JDK full path.

8. Install ADT Plugin for Eclipse ( http://developer.android.com/sdk/eclipse-adt.html#installing )
8.1. Start Eclipse, then select Help > Install New Software....
8.2. Click Add, in the top-right corner.
8.3. In the Add Repository dialog that appears, enter "ADT Plugin" for the Name and the following URL for the Location: " https://dl-ssl.google.com/android/eclipse/ "
8.4. Click OK
Note: If you have trouble acquiring the plugin, try using "http" in the Location URL, instead of "https" (https is preferred for security reasons).
8.5. In the Available Software dialog, select the checkbox next to Developer Tools and click Next.
8.6. In the next window, you'll see a list of the tools to be downloaded. Click Next.
8.7. Read and accept the license agreements, then click Finish.
Note: If you get a security warning saying that the authenticity or validity of the software can't be established, click OK. When the installation completes, restart Eclipse.
9. Configuring the ADT Plugin ( http://developer.android.com/sdk/eclipse-adt.html#installing )
After you've successfully downloaded the ADT as described above, the next step is to modify your ADT preferences in Eclipse to point to the Android SDK directory:
9.1. Select Window > Preferences... to open the Preferences panel (Mac OS X: Eclipse > Preferences).
9.2. Select Android from the left panel. You may see a dialog asking whether you want to send usage statistics to Google. If so, make your choice and click Proceed. You cannot continue with this procedure until you click Proceed.
9.3. For the SDK Location in the main panel, click Browse... and locate your downloaded SDK directory.
9.4. Click Apply, then OK. Done! If you haven't encountered any problems, then the installation is complete. If you're installing the Android SDK for the first time, return to Installing the SDK to complete your setup.
10. Adding Platforms and Other Components ( http://developer.android.com/sdk/installing.html#components )
10.1. From within Eclipse, select Window > Android SDK and AVD Manager.
10.2. On Windows, double-click the SDK Manager.exe file at the root of the Android SDK directory, C:\Program Files\Android\android-sdk.
ลองทำตามดูนะครับ ถ้าติดอะไร ก็ถามมาได้ครับ ถ้าภายในสามวันผมยังๆไม่ตอบ ก็ส่งเมลล์หาได้เลยครับ
และการเขียนโปรแกรมครั้งแรก อย่างที่รุ้กัน เราก็จะเขียน "Hello World !!" กัน
ไว้ผมจะมาเขียนต่อนะครับ